Homemade Chocolate Strawberry Cups Recipe
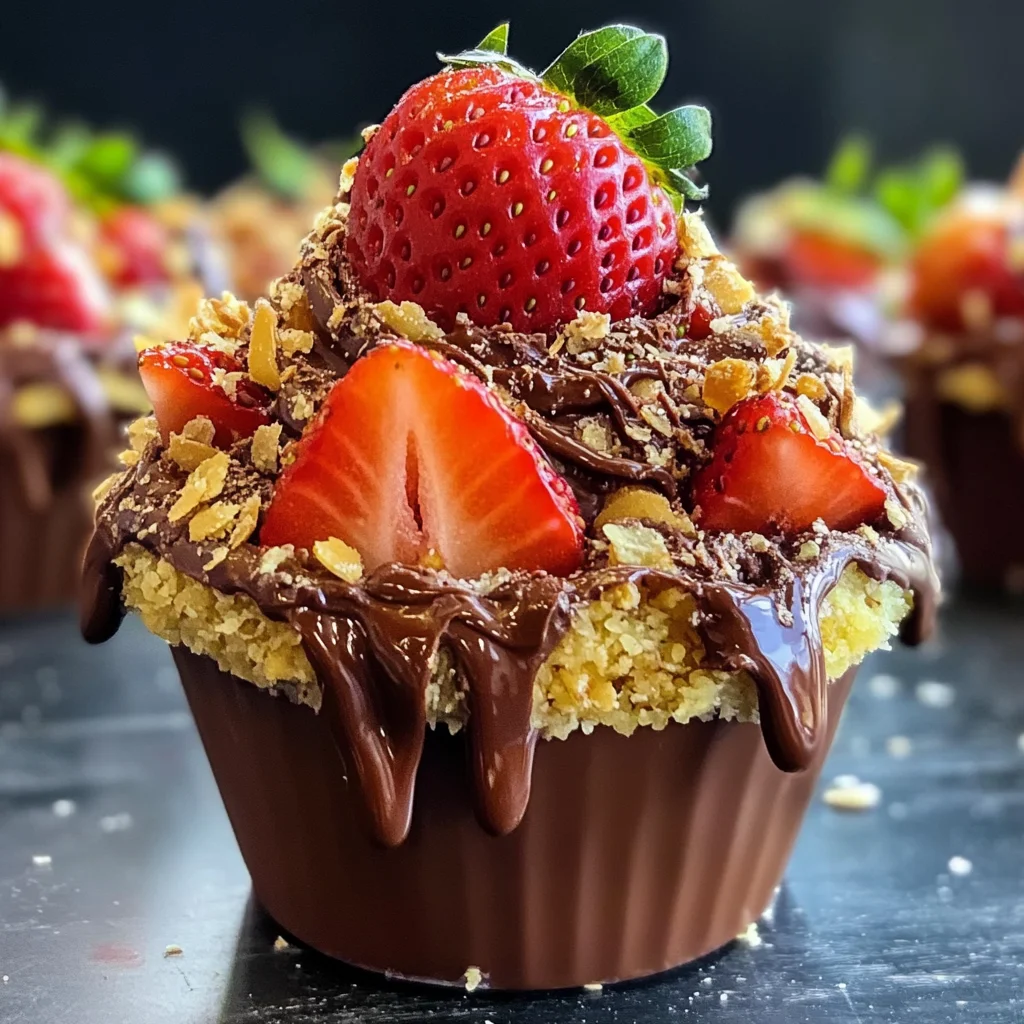
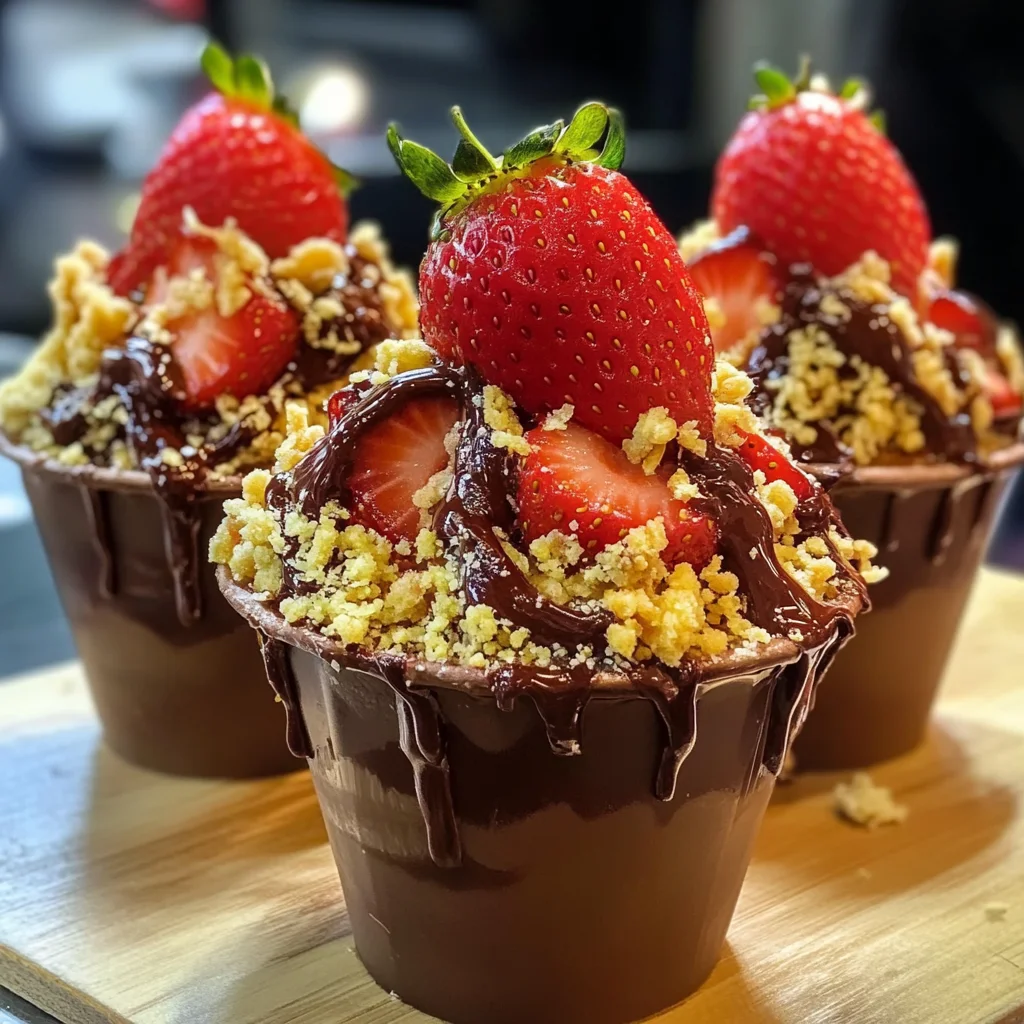
Chocolate Strawberry Cups are a delightful and easy-to-make dessert that brings a touch of elegance to any occasion. Featuring layers of crispy kataifi, rich pistachio paste, fresh strawberries, and silky Nutella, this Homemade Chocolate Strawberry Cups Recipe is perfect for parties, family gatherings, or simply treating yourself. The visually stunning presentation and delicious flavors make these cups a standout choice for dessert lovers.
Why You’ll Love This Recipe
- Easy to Prepare – With minimal cooking time and simple steps, you can whip up these treats in no time.
- Decadent Flavor – The combination of chocolate, strawberries, and pistachios offers a rich taste experience that will satisfy any sweet tooth.
- Versatile Layers – Customize with your favorite nut butters or chocolate alternatives for a unique twist.
- Perfect for Any Occasion – Whether it’s a birthday party or a cozy dinner at home, these cups shine on any dessert table.
- Gluten-Free Option – Easily adapt the recipe using gluten-free substitutes for the kataifi.
Tools and Preparation
Before diving into this delicious recipe, make sure you have the right tools on hand. Having the necessary equipment ensures smooth preparation and enhances your dessert-making experience.
Essential Tools and Equipment
- Mixing bowl
- Baking tray
- Microwave-safe bowl
- Serving cups
Importance of Each Tool
- Mixing bowl – Essential for combining ingredients evenly for the kataifi mixture.
- Baking tray – Perfect for toasting the kataifi until golden brown.
- Microwave-safe bowl – Ideal for melting Nutella without burning it.
- Serving cups – Show off your beautiful layers in style!
Ingredients
To create these luscious Chocolate Strawberry Cups, gather the following ingredients:
For the Base
- 75g kataifi (chopped; gluten-free sub: crushed rice noodles or cornflakes)
- 40g butter (plant-based for vegan)
For the Filling
- 140g pistachio paste (sub: almond butter or homemade pistachio blend)
- 600g fresh strawberries (thawed if frozen, pat dry)
For Topping
- 2 extra-large strawberries (for topping)
- 300g Nutella (sub: sugar-free chocolate or dark chocolate)
How to Make Homemade Chocolate Strawberry Cups Recipe
Step 1: Toast the Kataifi
- Preheat your oven to 180°C (350°F).
- In a baking tray, spread out the chopped kataifi evenly.
- Drizzle melted butter over the kataifi.
- Bake for 5–7 minutes or until golden brown, stirring halfway through.
Step 2: Prepare the Pistachio Mixture
- In a mixing bowl, combine the toasted kataifi with pistachio paste.
- Add an optional pinch of sea salt to enhance flavor and mix well.
Step 3: Prep Strawberries
- Wash and hull the fresh strawberries thoroughly.
- Slice them into halves or quarters depending on your preference; pat them dry with paper towels.
Step 4: Melt the Nutella
- Place Nutella in a microwave-safe bowl.
- Heat in short bursts of about 20 seconds until smooth and glossy; stir between intervals.
Step 5: Assemble Your Cups
- In serving cups, layer sliced strawberries first followed by the kataifi-pistachio mixture.
- Drizzle melted Nutella over each layer as you build them up; repeat until cups are filled.
Step 6: Final Touches and Chill
- Top each cup with an extra-large strawberry for presentation.
- Sprinkle reserved kataifi on top for added crunch.
- Chill in the refrigerator for at least 2 hours before serving to allow flavors to meld.
Enjoy your homemade Chocolate Strawberry Cups as an indulgent treat that everyone will adore!
How to Serve Homemade Chocolate Strawberry Cups Recipe
Chocolate Strawberry Cups are a delightful dessert that can be served in various exciting ways. Whether for a party or a cozy evening at home, these serving suggestions will elevate your dessert experience.
Individual Cups
- Serve each cup in its own small glass for an elegant presentation. This allows guests to enjoy their treat while showcasing the beautiful layers.
Family Style
- Place all cups on a large platter for a communal feel. This is perfect for gatherings where everyone can help themselves.
With Fresh Mint
- Garnish each cup with a sprig of fresh mint. The mint adds a refreshing contrast to the rich chocolate and strawberries.
Drizzled with Chocolate Sauce
- Top the cups with an extra drizzle of chocolate sauce for added indulgence. This makes for a visually appealing and tasty addition.
Accompanied by Whipped Cream
- Serve alongside a dollop of whipped cream or coconut cream for a creamy complement to the crunchy layers.
On a Fruit Platter
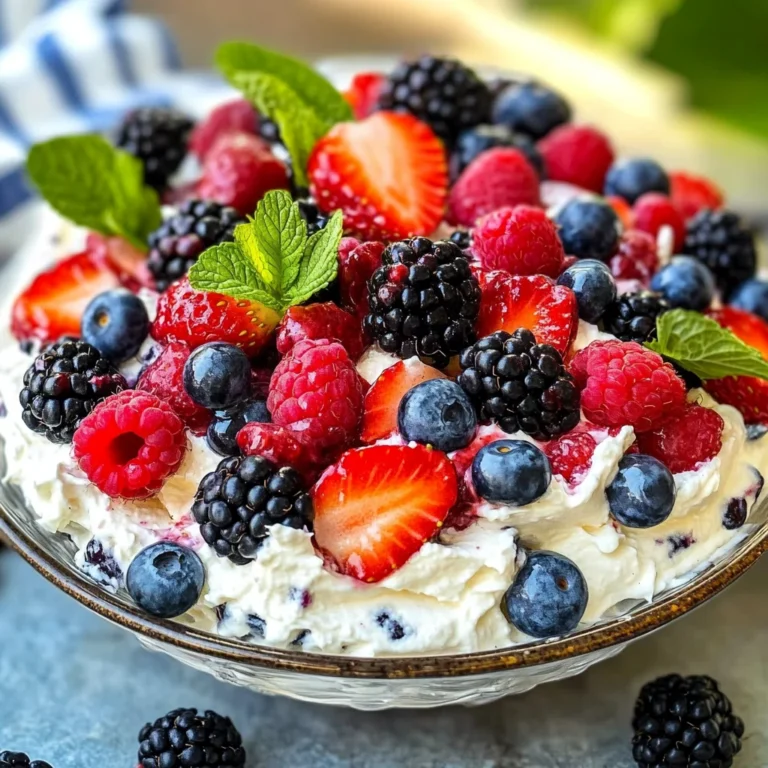
- Include the Chocolate Strawberry Cups as part of a larger fruit platter. Pair them with seasonal fruits like blueberries or raspberries for variety.
How to Perfect Homemade Chocolate Strawberry Cups Recipe
Making the perfect Chocolate Strawberry Cups involves attention to detail and some helpful tips. Here are key points to ensure your dessert turns out fabulous every time.
- Use Fresh Ingredients: Always opt for ripe, fresh strawberries. This enhances flavor and texture significantly.
- Toast Kataifi Properly: Ensure kataifi is golden brown before mixing it with butter for the best crunch.
- Chill Before Serving: Allowing the cups to chill helps set the layers, making them easier to eat and enhancing flavors.
- Experiment with Nutella Alternatives: If you’re looking for a healthier option, try sugar-free chocolate spreads without compromising on taste.
- Add Flavor Variations: Consider adding spices like cinnamon or cardamom to the pistachio mixture for an exotic twist.
- Customize Layers: Feel free to mix up the layers by incorporating other fruits or nuts based on your preference.
Best Side Dishes for Homemade Chocolate Strawberry Cups Recipe
Serving side dishes alongside your Chocolate Strawberry Cups can enhance the overall dessert experience. Here are some great options:
- Fruit Salad: A light and refreshing option that complements the richness of chocolate.
- Cheese Platter: Include mild cheeses like brie or goat cheese; they add savory notes that balance sweetness.
- Mini Pastries: Offer assorted mini pastries such as eclairs or tarts for variety in texture and flavor.
- Dark Chocolate Dipped Fruits: Provide an assortment of fruits dipped in dark chocolate; they tie together nicely with the main dessert.
- Coffee or Tea: Serve with brewed coffee or herbal tea; these beverages provide warmth and contrast to the cold dessert.
- Granola Parfaits: Layer granola with yogurt and fruits as a wholesome option that pairs well with chocolate flavors.
- Spiced Nuts: Offer spiced nuts as crunchy bites; they add an unexpected savory element that complements sweetness beautifully.
- Ice Cream Floats: Create ice cream floats using sodas or flavored sparkling water; this fun treat adds another layer of excitement to your dessert table.
Common Mistakes to Avoid
When making Homemade Chocolate Strawberry Cups, it’s important to be mindful of common pitfalls that can affect the outcome.
- Overcooking the kataifi: Toasting the kataifi for too long can make it too hard. Keep an eye on the color, aiming for golden brown within 5-7 minutes.
- Ignoring strawberry quality: Using overly ripe or damaged strawberries will impact flavor and presentation. Always choose fresh, firm strawberries for the best results.
- Skipping the chilling step: Not allowing the cups to chill for at least 2 hours can result in a messy dessert. Chilling helps layers set properly and enhances flavors.
- Using unmeasured ingredients: Eye-balling ingredients like Nutella or pistachio paste might lead to imbalanced flavors. Measure precisely for consistent results.
- Neglecting customization: Sticking strictly to the recipe can limit creativity. Feel free to experiment with different nut butters or toppings to suit your taste.
Storage & Reheating Instructions
Refrigerator Storage
- Store in an airtight container for up to 3 days.
- Keep layers separated with parchment paper if necessary to maintain texture.
Freezing Homemade Chocolate Strawberry Cups Recipe
- Freeze in an airtight container for up to 1 month.
- Allow thawing in the refrigerator overnight before consuming.
Reheating Homemade Chocolate Strawberry Cups Recipe
- Oven: Preheat to 350°F (175°C) and warm for about 5-10 minutes without covering.
- Microwave: Heat on low power in short bursts of 10 seconds just until slightly warm.
- Stovetop: Gently reheat on low heat in a non-stick pan, being cautious not to melt chocolate too much.
Frequently Asked Questions
Here are some answers to questions you might have about the Homemade Chocolate Strawberry Cups Recipe.
How long do Homemade Chocolate Strawberry Cups last?
These delightful cups last up to three days when stored properly in the refrigerator.
Can I customize my Homemade Chocolate Strawberry Cups Recipe?
Absolutely! You can swap out pistachio paste with almond butter or add different fruits like raspberries or blueberries for variety.
What can I use instead of Nutella in this recipe?
You can substitute Nutella with sugar-free chocolate spread or dark chocolate if you’re looking for a healthier option.
Are there any vegan alternatives in this recipe?
Yes, you can use plant-based butter and choose a vegan chocolate spread instead of Nutella for a fully vegan treat.
Is it necessary to chill the cups before serving?
Yes, chilling is crucial as it helps all layers set properly and enhances overall flavor and texture.
Final Thoughts
The Homemade Chocolate Strawberry Cups Recipe is not only simple but also offers a deliciously indulgent experience. Its versatility allows you to customize it with various nut butters or toppings, making this dessert perfect for any occasion. Try it out and create your unique version!
Homemade Chocolate Strawberry Cups Recipe

Indulge in the delightful Homemade Chocolate Strawberry Cups Recipe that combines layers of crispy kataifi, creamy pistachio paste, and fresh strawberries, all drizzled with smooth Nutella. This easy-to-make dessert is perfect for any occasion, whether you’re hosting a party, celebrating with family, or treating yourself to a sweet indulgence. With its stunning presentation and rich flavors, these cups are sure to impress dessert lovers of all ages. Create an elegant treat that not only tastes amazing but also looks beautiful on your dessert table.
- Prep Time: 20 minutes
- Cook Time: 7 minutes
- Total Time: 27 minutes
- Yield: Serves approximately 6 cups 1x
- Category: Dessert
- Method: Baking
- Cuisine: International
Ingredients
- 75g kataifi (chopped; gluten-free sub: crushed rice noodles or cornflakes)
- 40g plant-based butter
- 140g pistachio paste (sub: almond butter)
- 600g fresh strawberries (thawed if frozen)
- 2 extra-large strawberries (for topping)
- 300g Nutella (sub: sugar-free chocolate spread)
Instructions
- Preheat oven to 180°C (350°F). Spread chopped kataifi on a baking tray and drizzle with melted butter. Bake for 5–7 minutes until golden brown.
- In a mixing bowl, combine toasted kataifi with pistachio paste and optional sea salt.
- Wash and hull the strawberries, then slice them into halves or quarters.
- Melt Nutella in a microwave-safe bowl in short bursts until smooth.
- Assemble your cups by layering sliced strawberries first, followed by the kataifi-pistachio mixture and drizzled Nutella. Repeat layers until cups are filled.
- Top each cup with an extra-large strawberry and reserved kataifi for crunch. Chill in the refrigerator for at least 2 hours before serving.
Nutrition
- Serving Size: 1 serving
- Calories: 370
- Sugar: 22g
- Sodium: 50mg
- Fat: 20g
- Saturated Fat: 5g
- Unsaturated Fat: 15g
- Trans Fat: 0g
- Carbohydrates: 43g
- Fiber: 3g
- Protein: 6g
- Cholesterol: 0mg