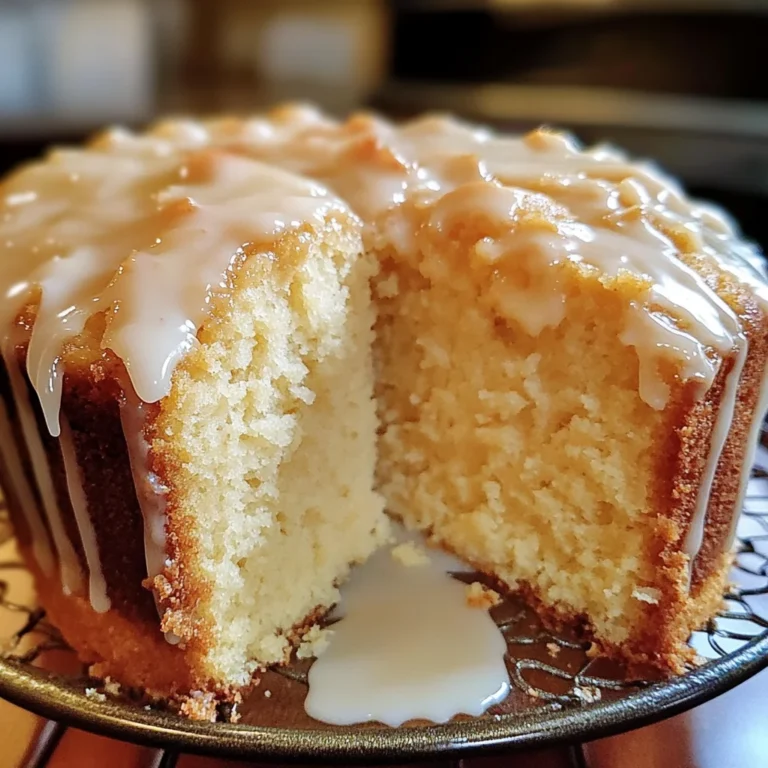
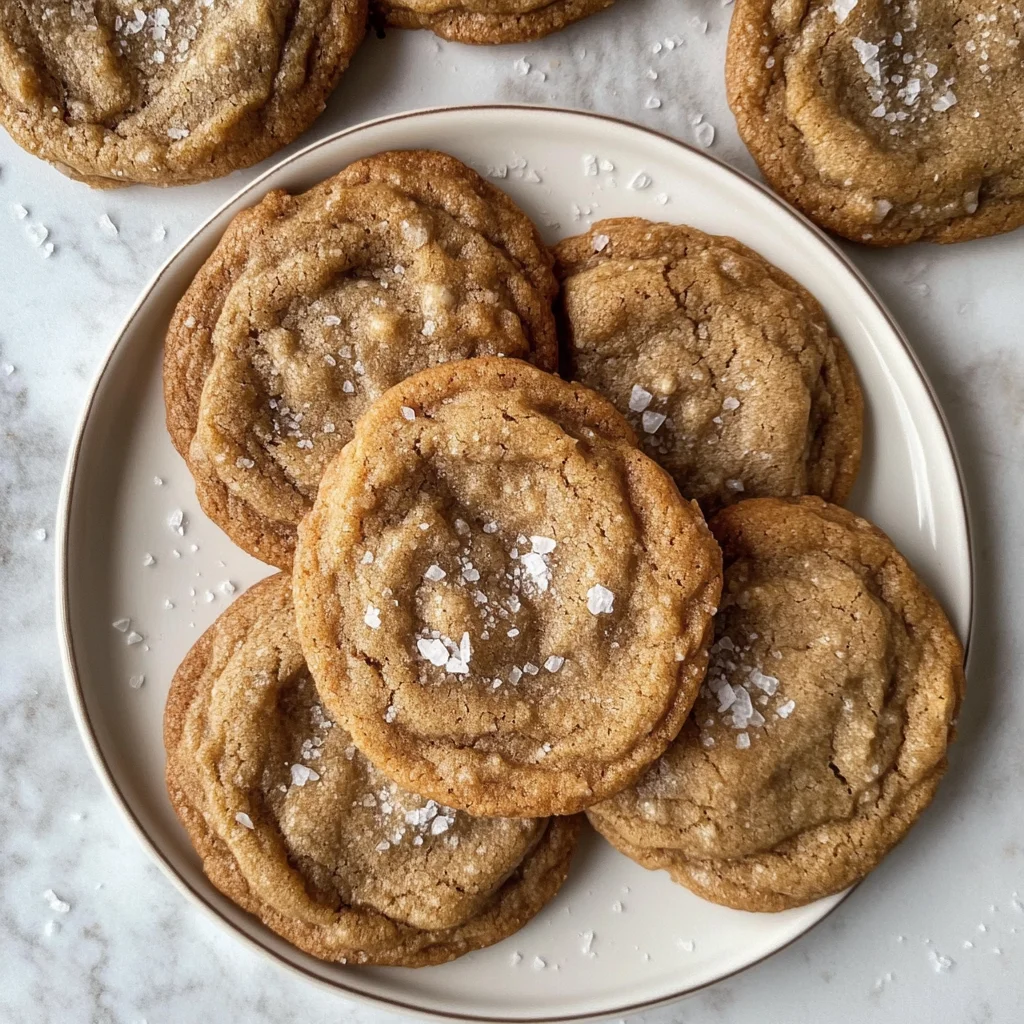
Chocolate Chipless Cookies
Soft, chewy, and delicious, Chocolate Chipless Cookies are the perfect treat for any occasion. These cookies offer the comforting texture of a classic cookie without the chocolate chips, making them a delightful choice for those looking to switch things up. They are ideal for family gatherings, afternoon snacks, or simply enjoying with a cup of tea. Plus, their unique flavor profile ensures that each bite is as satisfying as it is nostalgic.
Why You’ll Love This Recipe
- Easy to Make: With simple ingredients and straightforward steps, these cookies come together quickly.
- Versatile Flavor: The rich buttery taste shines through without chocolate, making them perfect for pairing with various beverages.
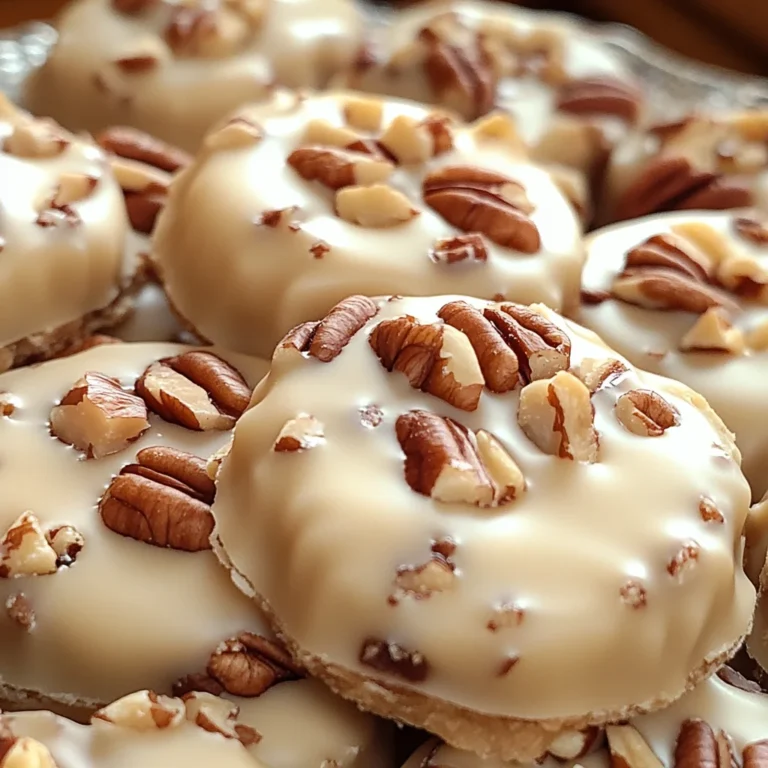
- Customizable: Feel free to add nuts or dried fruits for an extra touch or leave them plain for a classic experience.
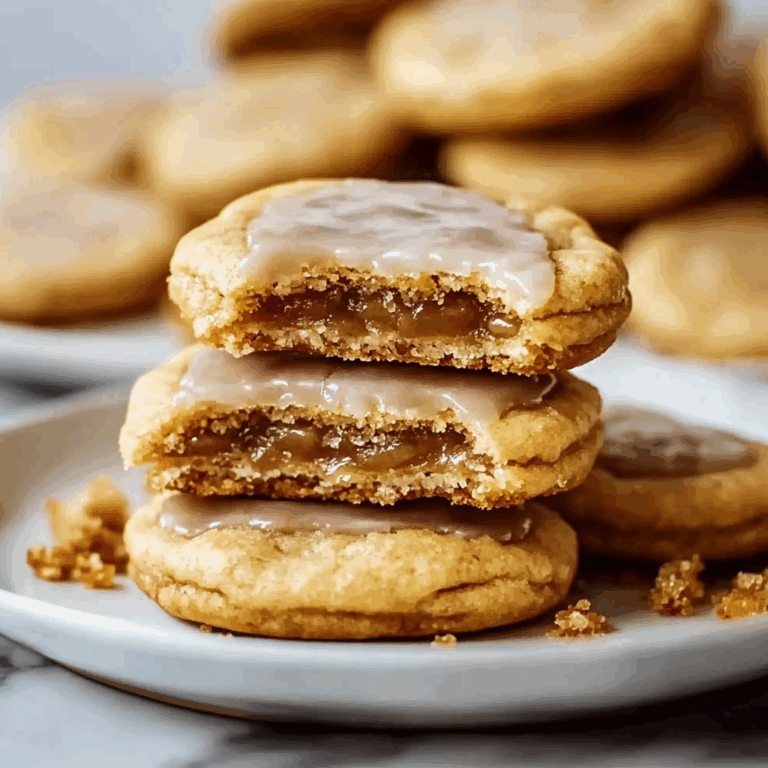
- Perfect Texture: Enjoy the soft and chewy texture that makes these cookies irresistible.
- Great for Sharing: With 18 servings, they are perfect for parties or gift-giving.
Tools and Preparation
Before you dive into making your Chocolate Chipless Cookies, gather your tools. Having everything ready will streamline your baking process.
Essential Tools and Equipment
- Mixing bowl
- Heavy-bottomed saucepan
- Whisk
- Baking sheets
- Parchment paper
Importance of Each Tool
- Mixing bowl: A sturdy mixing bowl allows you to combine ingredients effectively without spills.
- Heavy-bottomed saucepan: This tool ensures even heating when melting butter, preventing burning and enhancing flavor.
- Whisk: A whisk helps achieve a smooth mixture when blending wet ingredients together.
- Baking sheets: Proper baking sheets ensure even cooking and browning of your cookies.
Ingredients
Here’s what you need to make these delicious Chocolate Chipless Cookies:
For the Cookie Dough
- 1 cup unsalted butter
- 2 1/4 cups all-purpose flour
- 1 tablespoon cornstarch
- 1 teaspoon baking soda
- 1 teaspoon sea salt
- 1 cup firmly packed brown sugar
- 3/4 cup granulated sugar
- 1 large egg (room temperature)
- 1 large egg yolk (room temperature)
- 2 1/2 teaspoons vanilla extract
How to Make Chocolate Chipless Cookies
Step 1: Heat the Butter
Begin by heating the butter in a heavy-bottomed saucepan.
* Melt until it becomes darker in color and the milk solids caramelize.
* You should detect a pleasant nutty aroma.
Step 2: Cool the Butter
Once melted, allow the butter to cool to room temperature before proceeding.
Step 3: Prepare Dry Ingredients
In a small bowl, mix together:
* Flour
* Cornstarch
* Baking soda
* Sea salt
Set this mixture aside.
Step 4: Combine Sugars and Butter
In a mixing bowl, beat the cooled butter with both types of sugar until well combined.
* This should take about 4 to 5 minutes on medium speed.
* The mixture should resemble very wet sand.
Step 5: Add Eggs and Vanilla
Add in the egg, egg yolk, and vanilla extract.
* Beat well until fully incorporated; this should take another 2 to 3 minutes.
* Your mixture will reach a smooth and creamy consistency.
Step 6: Mix in Dry Ingredients
Stir in your prepared flour mixture until just combined. Be careful not to overmix.
Step 7: Chill the Dough
Cover the dough and chill it in the refrigerator for at least an hour. For optimal flavor development, chill for up to 72 hours.
Step 8: Portion the Dough
After chilling, portion out the dough into balls while your oven preheats.
Step 9: Preheat Oven
Preheat your oven to 350°F (175°C). Line two baking sheets with parchment paper.
Step 10: Bake Cookies
Place cookie dough balls on your prepared baking sheets about two inches apart.
* Bake for approximately 8 to 10 minutes or until golden brown.
Step 11: Cool Down
Let the cookies rest on the baking sheet for about 1 to 2 minutes before transferring them to a wire rack.
* For added flavor, sprinkle flaky sea salt on top while they are still warm.
Enjoy your freshly baked Chocolate Chipless Cookies!
How to Serve Chocolate Chipless Cookies
Serving Chocolate Chipless Cookies can be a delightful experience that goes beyond just enjoying them on their own. These cookies are versatile and can be paired with various accompaniments to enhance their flavor and presentation.
With a Glass of Milk
- A classic combination, the creaminess of milk complements the chewy texture of the cookies perfectly.
Ice Cream Sandwiches
- Sandwich a scoop of your favorite ice cream between two cookies for a delicious treat that is sure to please.
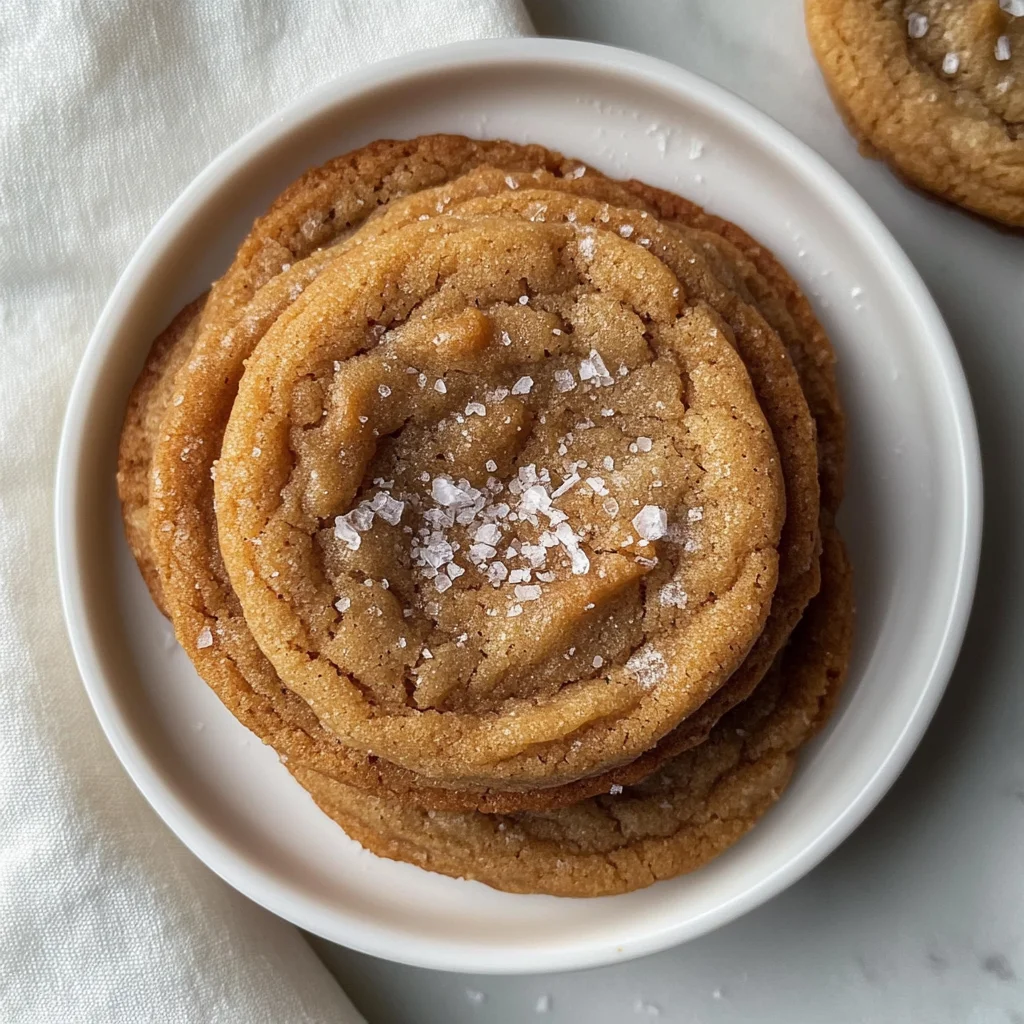
Warm with Flaky Sea Salt
- Serve the cookies warm, sprinkled with flaky sea salt to elevate their sweet and savory profile.
On a Dessert Platter
- Arrange the cookies neatly on a platter, perhaps alongside fresh fruit or other baked goods, for an inviting dessert display.
With Fresh Fruit
- Pair the cookies with slices of juicy fruit like strawberries or apples for a refreshing contrast.
Drizzled with Caramel Sauce
- Add a drizzle of caramel sauce over the top for an indulgent twist that enhances the sweetness of the cookies.
How to Perfect Chocolate Chipless Cookies
Perfecting your Chocolate Chipless Cookies is all about attention to detail. Follow these tips to ensure your cookies turn out soft, chewy, and delicious every time.
- Use Room Temperature Ingredients: Ensure your egg and butter are at room temperature for better mixing and texture.
- Chill Your Dough: Allowing the dough to chill helps develop flavors and results in a better texture.
- Don’t Overmix: Mix until just combined when adding the flour mixture; this keeps your cookies tender.
- Precision is Key: Measure your ingredients accurately for consistent results. Use a kitchen scale if possible.
- Watch Your Baking Time: Keep an eye on your cookies while they bake. They should be golden but not overly dark.
- Store Properly: Store leftover cookies in an airtight container to maintain their freshness and chewiness.
Best Side Dishes for Chocolate Chipless Cookies
These delectable Chocolate Chipless Cookies can be complemented by various side dishes that enhance your dessert experience. Here are some great options:
- Fresh Strawberries: Juicy strawberries add a bright contrast to the rich flavors of the cookies.
- Vanilla Ice Cream: The creamy sweetness of vanilla ice cream pairs beautifully with warm cookies.
- Coffee or Tea: A warm cup of coffee or tea balances the sweetness and provides a comforting beverage option.
- Yogurt Parfait: Layer yogurt with granola and fruits for a refreshing side that contrasts nicely with the cookie’s richness.
- Chocolate Sauce: A drizzle of chocolate sauce can add decadence; it’s perfect for those who want more chocolate flavor without chips!
- Nut Butter Dip: Offer almond or peanut butter as a dip on the side for added flavor and protein.
- Fruit Salad: A light fruit salad can cleanse the palate after enjoying these rich cookies while offering refreshing flavors.
- Cheese Platter: Pairing with mild cheeses like brie or goat cheese provides a savory counterpoint to sweet treats.
Common Mistakes to Avoid
Making chocolate chipless cookies can be simple, but there are a few common pitfalls to watch out for.
- Bold choice of butter: Using cold butter instead of melted butter can lead to dry cookies. Always melt and cool the butter before mixing.
- Bold overmixing the dough: Mixing too much after adding the flour can result in tough cookies. Mix until just combined for a softer texture.
- Bold skipping the chilling step: Not chilling the dough may cause cookies to spread too much during baking. Aim for at least one hour in the refrigerator for better flavor and texture.
- Bold incorrect oven temperature: Baking at an incorrect temperature can lead to undercooked or burnt cookies. Always preheat your oven to 350°F before baking.
- Bold neglecting the resting time: Allowing cookies to rest on the baking sheet is essential for achieving the perfect texture. Don’t skip this step!
Storage & Reheating Instructions
Refrigerator Storage
- Store in an airtight container for up to 1 week.
- Place parchment paper between layers if stacking to prevent sticking.
Freezing Chocolate Chipless Cookies
- Freeze baked cookies for up to 3 months in a zip-top bag or airtight container.
- Ensure cookies are completely cooled before freezing.
Reheating Chocolate Chipless Cookies
- Bold Oven: Preheat your oven to 350°F and warm cookies for about 5-7 minutes until heated through.
- Bold Microwave: Heat individual cookies on a microwave-safe plate for 10-15 seconds until warm.
- Bold Stovetop: Place cookies in a pan over low heat, covering with a lid, for about 2-3 minutes, turning occasionally.
Frequently Asked Questions
Here are some common questions about making chocolate chipless cookies.
How do I make my Chocolate Chipless Cookies softer?
To achieve softer chocolate chipless cookies, ensure you properly measure your flour and avoid overbaking. Chilling the dough also helps maintain moisture.
Can I add nuts to my Chocolate Chipless Cookies?
Absolutely! Feel free to customize by adding chopped nuts like walnuts or pecans for added crunch and flavor.
What should I do if my cookie dough is too sticky?
If your dough feels overly sticky, try chilling it for an additional 30 minutes. If necessary, you can also add a small amount of flour until it reaches a manageable consistency.
How long will my Chocolate Chipless Cookies stay fresh?
Stored properly in an airtight container, these cookies will remain fresh for up to one week in the refrigerator or three months when frozen.
Final Thoughts
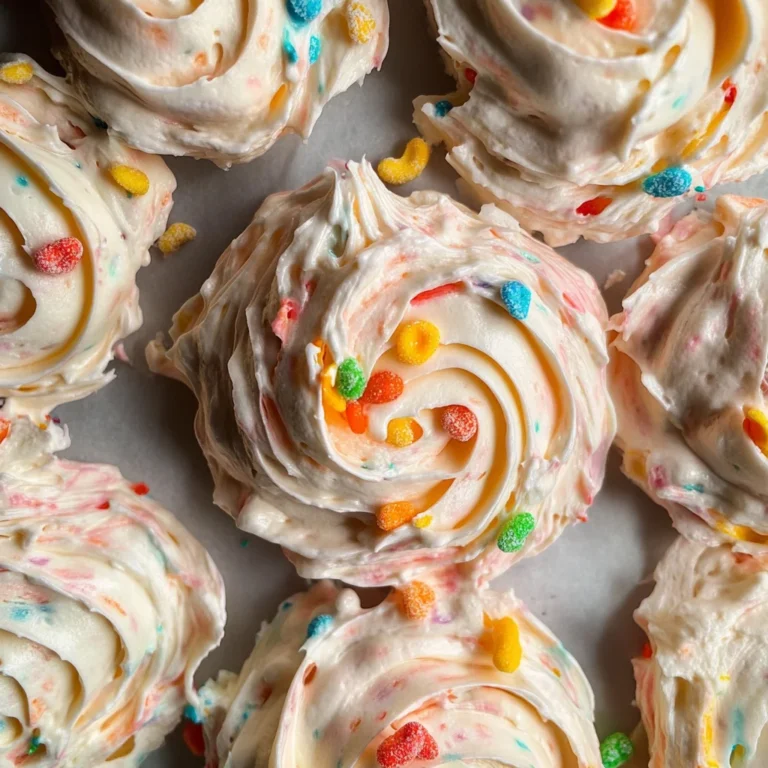
These chocolate chipless cookies offer a delightful break from traditional recipes while maintaining that beloved chewy texture. With plenty of room for customization—think nuts, spices, or even dried fruits—these versatile treats are perfect anytime. Give them a try and enjoy!
Chocolate Chipless Cookies
Indulge in the delightful simplicity of Chocolate Chipless Cookies, a sweet treat that brings back nostalgic memories of classic cookies without the chocolate. These soft and chewy cookies are perfect for any occasion, from family gatherings to afternoon snacks, and pair beautifully with a warm cup of tea or coffee. Crafted with rich butter and simple ingredients, they provide a versatile flavor that can be customized to your liking. Enjoy them plain or add nuts and dried fruits for an extra twist. With each bite, you’ll experience a satisfying texture and taste that makes these cookies a go-to recipe for dessert lovers.
- Prep Time: 15 minutes
- Cook Time: 10 minutes
- Total Time: 25 minutes
- Yield: Approximately 18 servings 1x
- Category: Dessert
- Method: Baking
- Cuisine: American
Ingredients
- 1 cup unsalted butter
- 2 1/4 cups all-purpose flour
- 1 tablespoon cornstarch
- 1 teaspoon baking soda
- 1 teaspoon sea salt
- 1 cup firmly packed brown sugar
- 3/4 cup granulated sugar
- 1 large egg (room temperature)
- 1 large egg yolk (room temperature)
- 2 1/2 teaspoons vanilla extract
Instructions
- Heat the butter in a heavy-bottomed saucepan until it turns darker and develops a nutty aroma; then cool to room temperature.
- In a bowl, whisk together flour, cornstarch, baking soda, and sea salt.
- Beat the cooled butter with both sugars until well combined.
- Add the egg, egg yolk, and vanilla; mix until smooth.
- Gradually stir in the dry ingredients until just combined.
- Chill the dough for at least one hour in the refrigerator.
- Preheat your oven to 350°F (175°C) and line baking sheets with parchment paper.
- Portion out dough into balls and place them on prepared sheets about two inches apart.
- Bake for 8 to 10 minutes until golden brown; let cool on sheets briefly before transferring to wire racks.
Nutrition
- Serving Size: 1 serving
- Calories: 150
- Sugar: 10g
- Sodium: 120mg
- Fat: 8g
- Saturated Fat: 5g
- Unsaturated Fat: 2g
- Trans Fat: 0g
- Carbohydrates: 18g
- Fiber: <1g
- Protein: 2g
- Cholesterol: 20mg